How to Extract in RIFTSTORM
Master extraction-lite mechanics—keep your loot on success and understand Weapon Scarring when a run goes wrong.
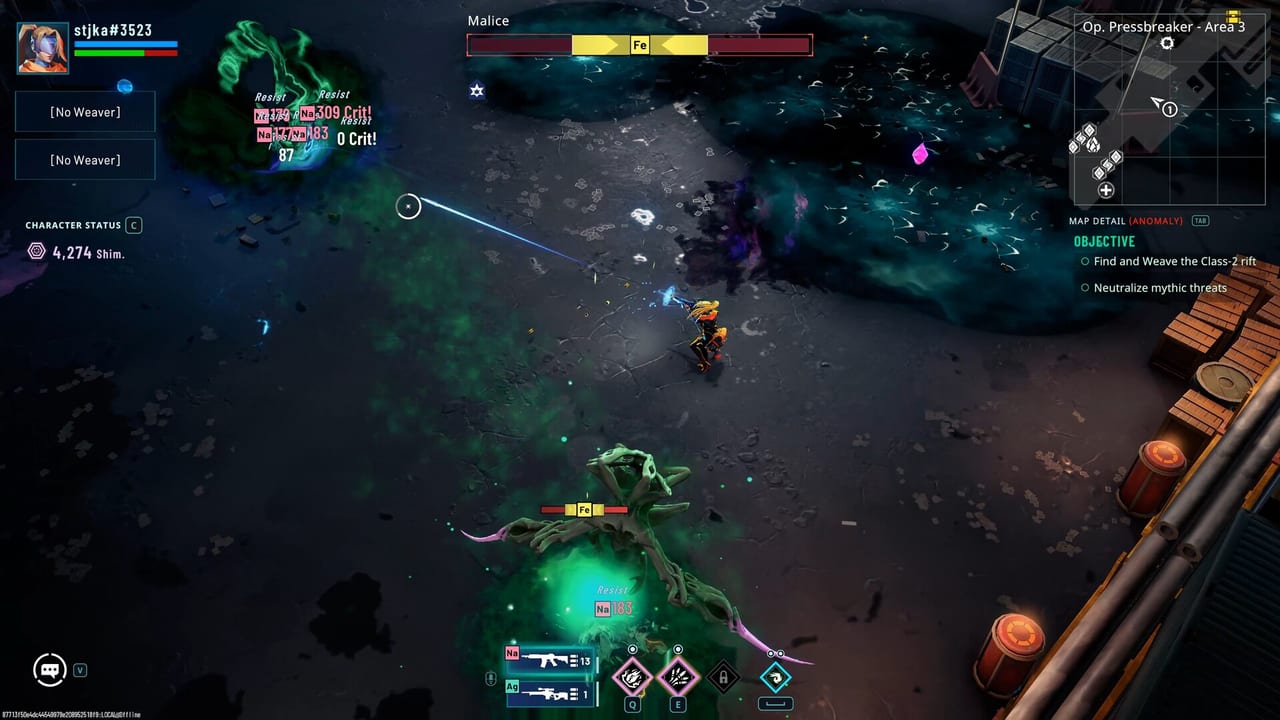
Extraction is the moment every RIFTSTORM mission builds toward. Confiction Labs designed the game around extraction-lite rules rather than a hardcore full wipe: when you extract successfully, the loot and materials you secured during the run transfer to your account and Forge Center inventory. When you fail—whether you die, miss the window, or abort in a collapsing Rift Exposure Zone—you do not lose all Periapt progress, but weapons you brought into the mission can suffer Weapon Scarring, a negative modifier that makes them less effective until repaired or replaced.
Understanding that split—meta progress mostly safe, brought gear at risk—is the core skill this guide teaches. Early Access is planned for August 11, 2026 on Steam, and extraction discipline will separate squads that grow steadily from squads that stall on scarred primary weapons.
Extraction-lite vs full wipe
Many extraction shooters punish failure by deleting everything in your backpack or resetting your stash. RIFTSTORM takes a gentler approach aligned with co-op PvE progression:
- On successful extract: Loot picked up during the mission, crafting components, and mission rewards bank to your hub inventory. Periapt experience and unlock progress applied during the run remain.
- On failed extract: You forfeit unextracted pickup loot from that mission. Weapons equipped or carried into the zone may gain Scarring stacks. Hub-stored duplicates and Periapt nodes are not deleted wholesale.
This means you can recover from a bad night without rerolling a forty-hour account, but repeatedly yoloing your only legendary rifle into maximum Threat Level content will still hurt.
Locate extract points early
Every PADDOCK Contingency briefing should be read for extract locations before you drop. Pin the nearest extract on your mental map, then identify a backup route if the primary path crosses an active exposure hotspot. Squads that only search for extract icons after the objective completes lose precious minutes when zone timers accelerate.
In three-player co-op, assign one Weaver to call extract timing—often the player with the best mobility or map awareness. The other two focus on clearing the path and holding aggro while the caller watches collapse warnings tied to Rift Exposure Zones.
Timing: leave with margin
The classic failure mode is greed: one more elite pack, one more Lythogram shrine, one more chest in a high-value pocket. Lythograms tempt you to extend fights because power spikes feel immediate, but every extra minute increases exposure pressure and the chance someone goes down without a clean revive window.
Use a simple squad rule for Early Access:
- Set a hard extract time at 70–80% of the mission timer or zone stability bar.
- If anyone is downed after that threshold, extract immediately with whoever is alive rather than attempting a hero revive in a collapsing sector.
- Only extend past the threshold if the remaining objective is literally one interact away and the path is already clear.
You can always run the same Threat Level again with safer timing. You cannot instantly un-scar a weapon you overcommitted.
Weapon Scarring explained
Weapon Scarring applies negative modifiers to guns you brought into a failed run—reduced damage, increased spread, slower handling, or similar debuffs depending on final Early Access tuning. Scarring is meant to sting without erasing your account. Repair options at the Forge Center, replacement drops, or running backup weapons mitigate the pain.
Risk management tactics:
- Main and backup: Keep a second reliable weapon in hub storage. Bring the backup when learning a new zone or Threat tier.
- Insurance extracts: After securing a rare drop mid-mission, consider extracting early with just that item rather than pushing for 100% zone completion.
- Shared squad loadout: In co-op, avoid all three players risking their only scar-able weapon on the same experimental run. Coordinate via How to Co-op voice comms.
Scarring stacks or severity may change during Early Access patches—watch patch notes after the planned August 11, 2026 launch.
Loot priority before you extract
Not every pickup is worth the carry weight or the extra fight on the way out. Prioritize:
- Periapt-critical materials you cannot craft elsewhere yet.
- Forge Center recipe components gating your build.
- High-tier weapon upgrades with immediate equip value.
- Salvage fodder only if inventory space remains and extract is guaranteed.
Dump low-tier duplicates in the field if your squad needs speed. Inventory clutter slows movement and encourages risky detours.
Co-op extract coordination
Extraction in RIFTSTORM requires the squad to reach the extract zone together in most mission types—dropping one player to die elsewhere typically fails the group extract. Before you commit:
- Confirm all members are alive or have a revive kit ready.
- Clear patrols near the pad so you are not channeling extract under fire.
- Use lobby and invite codes sessions with friends you can voice chat with; pug groups fail extracts more often from silent panic extracts.
If one player is heavily encumbered with loot, the mobile Weaver should peel threats while tanks hold the extract circle.
Threat Level and zone pressure
Higher Threat Levels generally offer better rewards but tighter timers and tougher elites near extract corridors. Match Threat to your Periapt investment and scarring tolerance. First clears of a new zone tier should use mid Threat even if your squad played the Steam demo extensively—demo tuning may differ from Early Access.
Rift Exposure Zones can shift mid-mission, cutting off your planned exit. When exposure migrates toward your extract route, pivot immediately; do not assume the briefing map stays static.
After a successful extract
Return to hub, offload inventory before queuing again, and route materials to Periapt or Forge Center as planned in Getting Started. Successful extracts are the only way to fund long-term power without buying into unnecessary gear risk on the next run.
After a failed extract
Audit which weapons scarred, swap to backups, and identify the failure cause—timing, Threat mismatch, or co-op coordination. Adjust one variable next run rather than repeating the same push. Failed extracts are learning tax in extraction-lite design, not a reason to quit the game.
Extraction mastery is repeatable: read the briefing, set a squad clock, protect your scar-able weapons, and leave with loot secured. Everything else in RIFTSTORM—Lythograms, crafting, co-op builds—amplifies runs that end at the extract pad.
Frequently Asked Questions
Quick answers to the most common RIFTSTORM questions.
Do I lose everything if I fail to extract in RIFTSTORM?
No. RIFTSTORM uses extraction-lite rules: you lose unextracted mission loot, but Periapt meta progress generally remains. Brought weapons may suffer Weapon Scarring as explained on this page.
What is Weapon Scarring?
Weapon Scarring is a negative modifier applied to weapons you carried into a failed mission. It reduces effectiveness until repaired or replaced—not a full account wipe.
Can I extract alone while teammates stay fighting?
Most missions require the squad to extract together. Coordinate timing via co-op comms rather than splitting at the last second.
Should I bring my best weapon every run?
Only when Threat Level and route knowledge justify the risk. Use hub backups on first clears of Rift Exposure Zones or new Threat tiers.
Does extracted loot go to the Forge Center automatically?
Successful extracts bank loot to your hub inventory, where you can salvage or craft at the Forge Center and spend materials on Periapt as described in Getting Started.